
Recovering Your Breathing Air Compressor After A Flood or Water Damage
Eric Keibler Sep 25, 2017

Jess Stark in Truk Lagoon
What You Will Need
To start the salvage operation you will need the following:
- Tools, including a set of wrenches and sockets
- Fresh water
- WD40, about a gallon (you can use diesel but it does not work as well)
- Hair dryer
- Emery Cloth, 400x
- Anti-seize lubricant,
- Compressor oil
Stark Industries Compressor
Oil
Steps to Salvage You Compressor
1. Turn off the power to the unit. Flush the entire compressor with fresh water, this is important and must be done as soon as possible to remove any salt water or other contaminants. This includes the motor, both inside and out.
2. Motor – the bearings in the motor are likely sealed (cool) but you need to dry everything out after the rinse. Use the hair dryer for this job slowly turning the motor shaft. Keep turning it until every thing is dry.
3. If you were lucky enough to have a TEFC Frame motor, totally enclosed, fan cooled motor, you probably won’t have to dry the internals out unless it stayed submerged for a long time. You can confirm that it stayed dry by opening one end cover and checking that it is dry.
4. Drain the compressor crankcase completely, tilt the compressor to make sure everything is coming out.
5. Flush the crank case with fresh water and use your hair dryer to dry it out completely.
6. Remove all of the cylinder heads and valves. Dry with the hair dryer to remove any water.
7. Place the valves in a coffee can or bucket and cover with WD-40. If you cannot find WD-40, you can use diesel but WD-40 was designed to remove or displace water so it is the better choice.
8. Dry out any water in the cylinders then pour oil in and rotate the compressor shaft while ensuring the oil covers the cylinder walls completely. (any rust stains found at this point should not have started a “pitting action” on the cylinder walls and therefore should
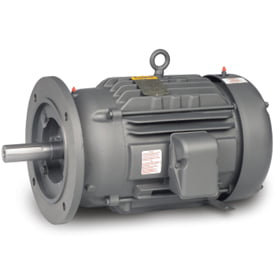
TEFC Frame motor
be harmless). If you have cylinders point down, you will need to turn the compressor upside-down to do this step.
9. Flush the electrical boxes and power terminals with fresh water if they were submerged or got wet during the storm. Use the hair dryer to dry everything out.
10. Your purification system should be alright since it is sealed. But, make sure to rinse the exterior of the towers and components with fresh water. However, the top of the back pressure valve is open (i.e. exposed) and, must be rinsed and dried.
11. Rinse and dry the intake filter element.
12. Disassemble and inspect the valves for carbon deposits and look at the seating surfaces. Lap the seating surfaces with the emery on a glass plate if needed.
13. Reassemble everything. Make sure to use the anti-seize lubricant on the bolt threads.
14. Refill the crankcase with fresh lubricant and rotate the compressor by hand to make sure it turns and feels smooth
15. Replace the belts if necessary and restore power to your unit
16. Now comes the test—turn it on.
17. When you start pumping air, make sure the fill hoses are not full of water. If water comes out, you will need to flush the hoses and the air distribution manifold with fresh water and then use the compressor to dry them out
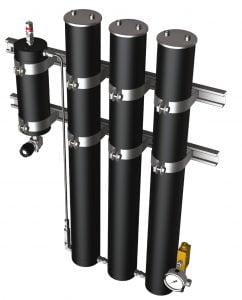
AP-120 Purification System
18. If you are using pneumatic fill whip ends, you will want to disassemble them, dry and re-lubricate them (now is a good time to replace the O-rings).
19. After you get it running, we recommend you get your air tested to make sure everything is operating properly.
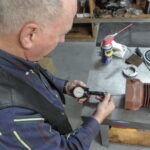
Jess At Work

Stark Industries
Today, Stark Industries resides on 1¼ acres in Houston prime. Our shop technicians and operators design and craft everything on site. Our philosophy is to keep it simple. Our goal is to build a dependable, bullet-proof machine, that is easy to operate and maintain.
We build, rebuild and refurbish breathing air compressor systems as well as other large industrial compressor systems.
